You've watched the viral four-year F-550 composite build. You've scrolled through dozens of Promaster conversion timelapses. Now you're standing in your driveway staring at a bare cargo van or truck chassis, wondering where to actually start.
This guide breaks the entire process into manageable phases. We'll cover vehicle selection, layout planning, insulation, electrical systems, storage, and realistic budgets so you can stop planning and start building.
What Vehicle Should I Use for a Camper Build?
The best vehicle depends on how you plan to travel, how many people you're building for, and what kind of roads you want to access. Here's how the most popular platforms compare:
| Platform | Interior Height | Cargo Length | Typical Build Cost | Best For |
|---|---|---|---|---|
| Ram Promaster 159" | 6'3" standing | ~12 ft | $8K, $20K | Weekend warriors, couples |
| Ford Transit High Roof | 6'6" standing | ~11 ft | $10K, $25K | Full-time living |
| Sprinter 170" | 6'3" standing | ~13 ft | $12K, $30K | Long-term travel, remote work |
| F-350/F-550 Flatbed | Custom (cab-over) | 8, 12 ft (box) | $15K, $60K+ | Overlanding, extreme terrain |
| Box Truck (e.g., Isuzu NPR) | 6'+ standing | 12, 16 ft | $10K, $25K | Maximum space on a budget |
Source: Truck Camper Magazine 2025 builder survey
A few quick rules of thumb:
- Promaster vans are the most beginner-friendly because of their low floor height, front-wheel drive, and boxy interior shape that minimizes wasted space.
- Truck camper builds (flatbed or slide-in) are harder to execute but let you separate your home from your vehicle, which is a huge advantage for maintenance and resale.
- Used commercial vans with 150K+ miles can be had for under $10K, but budget at least $2K, $3K for mechanical work before you touch the interior.
Don't overlook the drivetrain. Four-wheel drive matters if you want to reach remote BLM land or forest service roads. It matters far less if your plan is primarily campground travel.

How Do I Plan My Camper Layout?
Start with your non-negotiables, then design everything else around them. The single biggest mistake first-time builders make is skipping the layout phase and jumping straight to insulation.
Step 1: List your must-haves. For most people this includes a bed, a way to cook, and a place to store water. Write it down. Rank it.
Step 2: Build a cardboard mockup. Before cutting a single piece of wood, use cardboard boxes to mock up your bed platform, kitchen counter, and any cabinets. Live in the van for a weekend with just the cardboard. You'll immediately discover problems that never show up in SketchUp.
Step 3: Choose your layout style. The three most common configurations:
- Rear bed, side galley , The classic Promaster layout. Bed across the back, kitchen counter along the driver's side, storage underneath.
- Longitudinal bed, rear kitchen , Common in narrower vans like the Transit. Bed runs lengthwise, freeing up the rear doors for a pull-out kitchen.
- Cab-over bed, pass-through living , The standard for truck camper builds. Sleeping area extends over the cab, main living area sits at truck-bed height.
A couple of layout principles that save headaches:
- Keep your water system and kitchen on the same side of the vehicle to shorten plumbing runs.
- Place heavy items (batteries, water tank) low and as close to center as possible for better handling.
- Leave at least 18 inches of clear floor space for getting dressed or moving around without climbing over things.
If you're building on an F-550 or similar flatbed, you have the luxury of designing your box dimensions before the walls go up. The viral composite builds use this to their advantage, creating exactly the interior volume they need rather than working within a van shell.
What Insulation and Wall Materials Work Best for a Camper Van?
Insulation is the difference between a comfortable camper and a metal box that's freezing at night and sweltering by noon. The right choice depends on your climate, budget, and tolerance for complexity.
Closed-cell spray foam is the gold standard for van builds. It insulates, acts as a vapor barrier, and bonds directly to the metal shell, preventing condensation pockets. The downside: you'll need to hire a professional or rent equipment, and overspray is brutal to clean up.
Rigid foam board (polyiso or XPS) is the most popular DIY option. Cut panels to fit between ribs, glue them in place, and fill gaps with spray foam from a can. This is what most Promaster builds use.
Thinsulate (3M SM600L) is a friction-fit option that handles moisture well and doesn't require a separate vapor barrier. It's forgiving for beginners but costs roughly twice as much as rigid foam per square foot.
Here's what to avoid:
- Fiberglass batts , they absorb moisture, lose R-value when wet, and create mold problems in a vehicle.
- Cheap "bubble wrap" reflective insulation , it works as a radiant barrier in a wall cavity but provides almost zero conductive insulation on its own. Don't believe the R-value claims on the packaging.
- Skipping the floor , heat loss through an uninsulated metal floor is massive. Use at least 1/2" XPS under your subfloor.
For wall paneling, 1/8" luan plywood is the lightest option and takes paint or fabric well. Tongue-and-groove cedar planks look great but add real weight. If you're building a composite truck camper box, fiberglass-skinned foam-core panels give you insulation and structure in one material, which is why the serious overlanding builds favor them.

How Do I Set Up Electrical in a DIY Camper?
A properly sized electrical system is the backbone of any livable build, and it's the phase that intimidates beginners most. The good news: if you can follow a wiring diagram, you can do this.
Start by calculating your daily power needs. List every device you'll run, its wattage, and how many hours per day you'll use it. Multiply watts by hours to get watt-hours.
| Device | Watts | Hours/Day | Wh/Day |
|---|---|---|---|
| Diesel heater | 25 | 8 | 200 |
| LED lights | 15 | 5 | 75 |
| Laptop charging | 60 | 3 | 180 |
| 12V fridge/freezer | 45 | 24 (cycling) | 500 |
| Phone charging | 15 | 2 | 30 |
| Roof vent fan | 10 | 6 | 60 |
| Total | 1,045 |
Source: Battle Born Batteries load calculator
For this example setup, you'd want at least 200Ah of lithium (LiFePO4) battery capacity, giving you a comfortable margin above your daily draw. Pair that with 200, 400 watts of rooftop solar and a DC-to-DC charger that tops off from your alternator while driving.
The core components of a van electrical system:
- Battery bank , Lithium iron phosphate (LiFePO4) batteries are lighter, discharge deeper, and last longer than AGM. A quality 100Ah lithium battery runs around $500, $800.
- Solar charge controller , MPPT controllers are 15, 20% more efficient than PWM. Size it to handle your total solar wattage.
- DC-to-DC charger , This safely charges your house batteries from your vehicle alternator. A 30-amp or 40-amp unit covers most builds.
- Inverter , Converts 12V DC to 120V AC for laptops and small appliances. A 1000W pure sine wave inverter handles most needs. Go to 2000W if you want to run a coffee maker or hair dryer.
- Fuse box and bus bars , Every circuit needs its own fuse. Use a 12-circuit fuse box and connect all positive and negative leads through proper bus bars.
- Wire , Use marine-grade tinned copper wire sized for your amperage and run length. Undersized wire creates heat and fire risk.
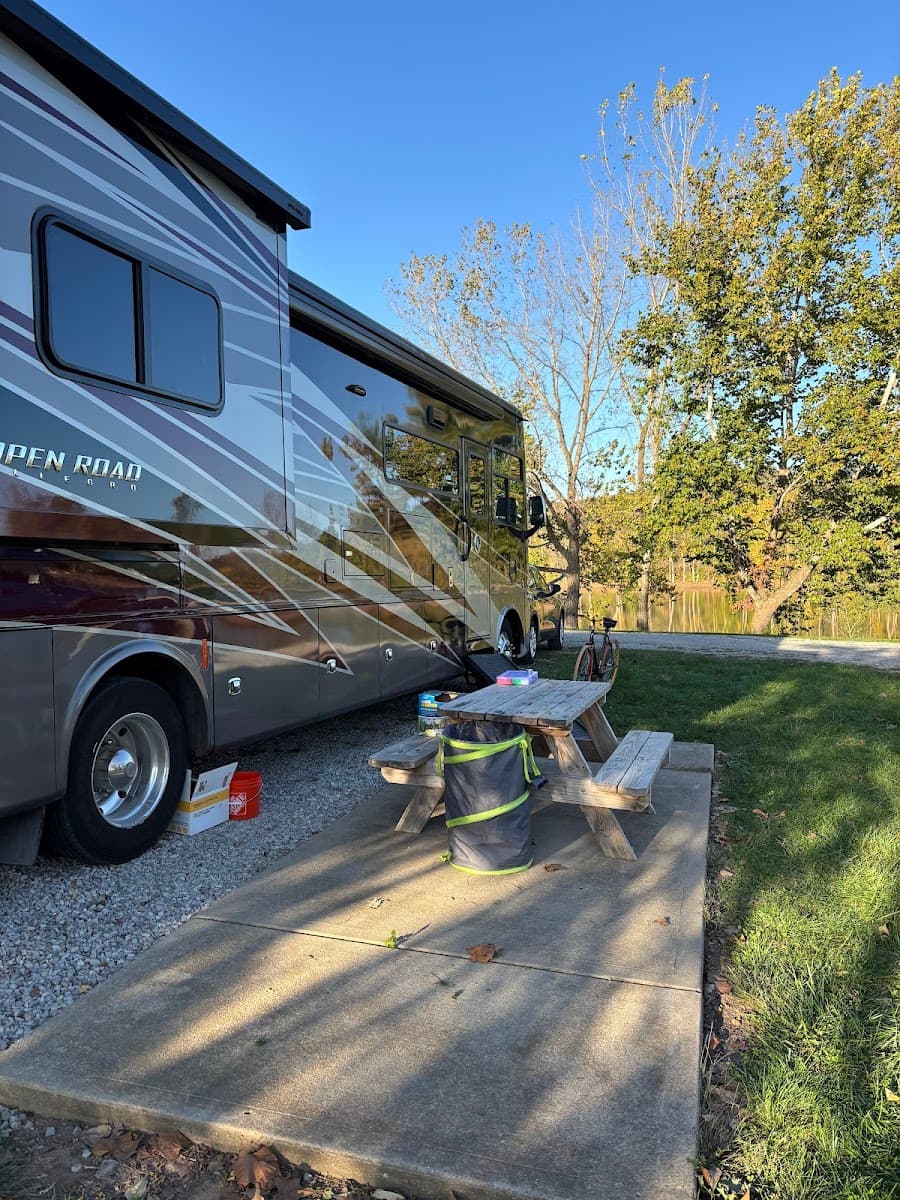
A 30-amp shore power inlet is worth adding even if you plan to boondock most of the time. When you do pull into a campground like Cherry Hill Park near Washington, D.C. or The Nugget RV Resort in Montana, shore power lets you recharge fully overnight and run a small AC unit if your inverter supports it.
Wire your system so it's accessible for troubleshooting. Label every wire at both ends. Future you will be grateful.
What Storage Solutions Work in a Tight Camper Space?
Every cubic inch matters in a vehicle build. Smart storage is what separates a comfortable build from one that feels cluttered after a week on the road.
Under-bed storage is the single biggest storage zone in most van builds. Build your bed platform at a height that accommodates plastic bins or drawers underneath. Sliding drawer rails (the heavy-duty kind rated for 200+ lbs) let you access gear through the rear doors without climbing inside.
More storage strategies that work:
- Overhead cabinets , Keep them shallow (6, 8 inches deep) so they don't eat into headroom. Use magnetic or positive-latch catches so they don't fly open on rough roads.
- MOLLE panels or pegboard on walls for organizing small items, tools, and kitchen utensils.
- Slide-out galley , A kitchen that pulls out from the rear or side door on drawer slides saves interior floor space and lets you cook outside.
- Seat-base storage , If you have a dinette or swivel seat area, build hollow bases with hinged lids.
- Roof rack or roof box , External storage for bulky items like firewood, folding chairs, or recovery gear keeps the interior livable.
One trick from experienced builders: use a consistent bin system. Pick one size of storage bin (many builders love the IKEA TROFAST bins or similar) and design your cabinetry around those exact dimensions. This eliminates dead space and lets you pull bins out to reorganize.
For a truck camper build, consider a pass-through storage compartment at bed height. This gives you exterior access to gear without entering the living space, which is invaluable when you roll into camp after dark.
How Much Does a DIY Camper Build Cost?
A complete DIY build ranges from about $3,000 for a bare-bones weekend setup to $60,000+ for a fully custom composite truck camper. Where you land depends on your electrical needs, material choices, and how much labor you're willing to do yourself.
| Budget Tier | Typical Spend (Not Including Vehicle) | What You Get |
|---|---|---|
| Bare Bones | $3K, $6K | Basic insulation, bed platform, portable cooler, simple 12V system with one battery, no plumbing |
| Comfortable Weekend | $8K, $15K | Full insulation, 100, 200Ah lithium, 200W solar, 12V fridge, basic cabinetry, gravity-fed water |
| Full-Time Ready | $15K, $30K | Heated, well-insulated, 300Ah+ lithium, 400W solar, pressurized water, propane or induction cooking, composting toilet |
| Custom Composite Build | $30K, $60K+ | Custom box on flatbed, fiberglass composite walls, full wet bath, large battery bank, diesel heater/AC, built to overland |
Source: The Vanual builder cost database
Where to save money:
- Buy used components. Solar panels from a decommissioned residential install work fine and cost a fraction of new.
- Skip the composting toilet initially. A simple bucket toilet with biodegradable bags costs $30 and works while you figure out your real needs.
- Source lumber from habitat restore or reclaimed wood suppliers.
- Do your own upholstery with a basic sewing machine and outdoor fabric.
Where not to cut corners:
- Electrical wiring and fuses. Cheap wire and missing fuses cause vehicle fires.
- A quality 12V compressor fridge. Thermoelectric coolers drain batteries and can't hold temperature. A good compressor fridge is one of the best investments in any build.
- Ventilation. A powered roof vent fan is critical for condensation control and cooking fumes. Plan to spend $150, $300 on a reliable unit.
What You'll Need: Recommended Gear by Build Phase
Here's a breakdown of the key products for each phase of the build:
Insulation & Walls
- 1" or 2" polyiso rigid foam board
- Low-expansion spray foam (for gap filling)
- 3M 90 spray adhesive
- 1/8" luan plywood or tongue-and-groove paneling
Electrical
- LiFePO4 battery (100Ah or 200Ah, depending on your load calculation)
- MPPT solar charge controller (sized for your panel array)
- Rooftop solar panels (100W rigid or flexible panels)
- DC-to-DC charger (30A or 40A)
- Pure sine wave inverter (1000W, 2000W)
- Marine-grade tinned copper wire in various gauges
- 12-circuit fuse box and bus bars
- 30-amp shore power inlet with transfer switch or charger
Water & Kitchen
- 12V water pump
- Accumulator tank (optional but eliminates pump cycling)
- Food-safe water tank (15, 30 gallons depending on space)
- Two-burner propane or butane cooktop
- 12V compressor fridge/freezer
Climate & Ventilation
- Powered roof vent fan (MaxxFan or equivalent)
- Diesel heater (Chinese units work; name-brand units are more reliable)
- Reflective window covers for insulation and privacy
Comfort & Organization
- Heavy-duty drawer slides (200 lb+ rated)
- Magnetic cabinet catches
- LED puck lights or strip lighting
- Portable power station as a backup (useful for tools during the build, too)
Step-by-Step: Building Your Camper in Order
Follow this sequence to avoid tearing out work you've already done:
- Strip the vehicle. Remove existing cargo panels, shelving, floor material, and headliner. Clean the bare metal thoroughly.
- Fix rust and seal holes. Treat any rust spots, apply rust converter, and seal unused holes with butyl tape or body filler.
- Run major wiring. Before insulation goes in, run your main wire conduits along the frame ribs. This includes wires for ceiling lights, vent fan, solar, and any wall-mounted outlets.
- Insulate. Install rigid foam or Thinsulate between ribs. Seal all seams and gaps. Don't forget the floor and doors.
- Install the subfloor. Lay XPS foam, then plywood, then your finished floor material (vinyl plank is the most popular for easy cleaning).
- Build the bed platform and major furniture. Frame out your bed, galley, and any fixed cabinets. Bolt large pieces to the vehicle frame, not just the floor.
- Finish walls and ceiling. Install paneling over insulation and wiring. Cut openings for the vent fan, windows, and any passthrough fittings.
- Install the roof vent fan and any windows. Cut carefully, seal with butyl tape and lap sealant, and clamp until cured.
- Build out the electrical system. Mount batteries, charge controller, inverter, and fuse box. Wire all circuits, label everything, and test before buttoning up.
- Install plumbing. Mount the water tank, pump, and sink. Run lines and test for leaks.
- Install the kitchen and appliances. Mount the cooktop, fridge, and any propane or diesel systems. Test for gas leaks with soapy water.
- Add finishing touches. Cushions, curtains, cabinet hardware, exterior accessories, and a shake-down trip.
That shakedown trip is non-negotiable. Spend at least two nights in your build before any long trip. You'll find rattles, leaks, and design problems that only show up on the road.
Where Can I Camp with a Self-Built Rig?
Most private campgrounds welcome self-built vans and truck campers with no issues, especially if your rig looks clean and your electrical hookup is standard. Some parks cater particularly well to non-traditional rigs.
Castle Gate RV Park in Helper, Utah sits right along the Price River and welcomes converted rigs. It's an excellent base for testing your build on desert terrain before heading deeper into Utah's canyon country.
If you're building in the Southeast, Fair Harbor RV Park & Campground in Perry, Georgia makes a practical overnight stop along I-75, and their sites accommodate many vehicle sizes. Greenbrier Campground near Gatlinburg, Tennessee puts you within minutes of Great Smoky Mountains trails, and they're accustomed to seeing all types of rigs.
Out West, Yellowstone Grizzly RV Park in West Yellowstone, Montana gives you full hookups right at the starting point for the park. Having shore power available is a good safety net while you're still dialing in your solar and battery setup.
When boondocking on public land (BLM, National Forest), self-built rigs are treated the same as any other vehicle. Your build doesn't need to be registered as an RV for dispersed camping. Just follow 14-day stay limits and pack out everything.
Frequently Asked Questions
Do I need to title or register my van conversion as an RV?
In most states, a converted van keeps its original title. You don't need to re-register it as an RV for camping. However, if you want to claim RV-specific benefits (like living in it as a primary residence for tax purposes), some states require an RV inspection. Check your state's DMV guidelines.
Can I build a camper van with no woodworking experience?
Yes. Most van interiors use basic box construction with screws, and you can learn the necessary cuts in an afternoon with a circular saw and a speed square. Truck camper boxes are more complex, but even those use straightforward framing techniques. Watch a few build-specific YouTube channels before your first cut.
How long does a typical van conversion take?
A basic weekend-ready build can be finished in 4, 8 weekends if you're working part time. A full-time-ready conversion with custom cabinetry, full electrical, and plumbing typically takes 3, 6 months of weekend work. The composite truck camper builds that go viral can take a year or more.
Is it cheaper to buy a used camper van or build one?
Building is almost always cheaper than buying an equivalent professionally converted van. A used Promaster with a solid DIY build might cost $25K, $35K total (vehicle plus build), while a comparable commercial conversion sells for $60K, $100K+. The tradeoff is your time.
What's the most common mistake in a first van build?
Underestimating electrical needs and oversizing the bed. Most first-time builders create a bed that's larger than they need and an electrical system that can't keep up with their fridge and devices. Do the watt-hour math before you buy a single battery.
Can I run air conditioning on solar power alone?
A standard rooftop RV air conditioner draws 1,200, 1,500 watts. Running one for several hours requires a very large battery bank (400Ah+ lithium) and a substantial solar array (600W+). Most van builds rely on a roof vent fan, shade, and shore power at campgrounds for AC. Newer 12V mini-split units are more efficient but still demand significant battery capacity.